
Archive for Bill

Geezer TARC is about to commence…

Geezer TARC, HARA’s version of TARC for “older” rocketeers begins with the announcement of the 2016 TARC challenge at Nationals this weekend. It is open to any interested rocketeer over 21, and provides an excellent way for TARC mentors (or potential TARC mentors) to get a feel for the difficulties that will be faced by their teams in the upcoming months.

Mayer_Beast_2015

Duane Mayer’s winning rocket for 2015 – the yellow and black “Beast”


Standard TARC rules for 2016 season will apply, except for the following:

1) Geezer TARC begins with the announcement of the 2016 rules in May and ends with the contestants’ rockets being launched at a single event (date TBD, but well before school starts in late summer).

2) Each contestant may enter up to two rockets. These rockets may not fly before the official launch date, and the score shall be determined by the first flight of each on that date. The contestant’s score shall be the better of the two flights, or the score of one flight if only one rocket is entered.

3) Any commercial altimeter may be used to determine altitude. However, reflights are not allowed if there is an altimeter malfunction; in this case, the flight will be disqualified (So choose a reliable altimeter).

4) There is only one rocket per design, and there are no test or sub-scale flights permitted for the design. Its merit will be judged solely by the rocket’s performance at the contest launch. If two rockets are entered, they must be of substantially different design – different number of motors, fins, or something major – an inch shorter or taller does not constitute a substantial difference, nor does the same design at a different scale (e.g., BT-70 versus BT-80 versions).

Bullpup1_small

Bullpup 1 – a dual 24mm cluster for 2015. This was my best performer.

Der_Eggcracker

Der Eggcracker – a minimum diameter TARC rocket. This one was too efficient; it went WAY over altitude.

 
In the past, we have launched at a horse farm in Harvest. This year’s launch will probably be at “Pegasus field” in Research Park in Huntsville or at a HARA launch in Manchester. The launch will take place in late July or early August, and yes, you must be there to fly. That’s part of the contest – we want to witness what happens! We will try to pick a date that will be agreeable to all schedules.

Geezer TARC measures your ability to design an rocket to meet the TARC challenge – there are no proxies or test flights, as this would defeat the purpose. There is only one rocket for each design, and its first flight will be at the launch. If you enter two rockets, each must be based on a different design (like “Sure Thing” versus “Hail Mary”). This is a major part of the fun of the contest – we spend a lot of time designing a rocket to meet the challenge, but will it do it without modifications, on the first flight?

Good luck, and see you on the field!
 

The Huntsville TARC Regionals

Today was a good day to fly…

At least 9 TARC teams converged on Bragg Farms just north of Huntsville for our annual TARC regional launch.

Read more

Estes on steroids

by Bill Cooke

Mention Estes to a rocketeer these days, and you usually get a smirk; they are famous for Ready-To-Fly (RTF) and other easily built low power kits. Not much thrill to many in flying birds using 13 mm, 18mm, and 24 mm motors (1/4 A to E impulse). But that’s changing…  Read more

Rocket Design/Simulation Programs for TARC

by Bill Cooke

TARC is like the real world of rocket design in that the teams must resort to design/simulation software to help flesh out the initial concept, making sure it can meet the goals before pressing on to actual construction/testing. Here the vendors have come to the rescue in providing three outstanding packages, any one of which can be used to design a winning TARC entry. Read more

Thoughts on the 2013 TARC challenge

by Bill Cooke

NAR and the AIAA have just released the objectives for the 2013 TARC season. In brief, they are

  1. Altitude mark of 750 feet
  2. Flight Duration of 48-50 seconds
  3. 15″ parachute must be used to recover the egg and the altimeter
  4. Egg must be placed horizontally (“lying on its back”)
  5. Section of rocket containing the egg must be at least 60 mm (2.362″) in diameter
  6. Gross liftoff weight of under 650 grams
  7. Motor impulse must be 80 newton-seconds or less

At first glance. this seems simple; after all, each of these has been used in past years. No surprises, so pretty easy challenge for the TARC teams, right? Read more

Pack 351 Rocket Blast – and indeed it was!

by Bill Cooke

Every year Cub Scout Pack 351 has their annual ‘rocket blast’, in which the cubs fly rockets they have recently bought or built. HARA – in the form of Chuck Pierce and various others who show up to assist – always provides the launch setup and range control, which has been fairly easy for the past couple of years due to the use of the USSRC/Space Camp launch facilities. Read more

Building Rockets, Finale – Decals

By Bill Cooke

A lot of the new rockets come with “peel ‘n stick” stickers these days, rather than decals. Many rocketeers call these “peel ‘n cuss”, because they are not much fun to apply (especially roll patterns and long names) due to their stickiness – very little room to make a mistake. Read more

Building Rockets, Part 6 – Paint

by Bill Cooke

Image

Estes Executioner built and painted by Kimble29 on Ye Olde Rocket Forum

Now that the primer has been applied, we can move on to the paint. The type of paint is the rocketeer’s choice, with many choosing Rustoleum spray, while others use the same Testors enamels used to paint model cars or planes. The more artistic among us will break out the air brush, producing magnificent finishes like that on the Executioner seen at right. Whatever your paint choice, be sure you read the directions on the can or bottle, and follow them – a lot of weeping and gnashing of teeth can be saved by knowing the drying and recoat time of your paint.

Also, it is important to avoid mixing paint brands or types, as this can lead to “crazing”, in which incompatibilities in the chemistry of the paints cause huge cracks and wrinkles in the finish. However, there may be times – usually due to the unavailability of a certain color – when you have to mix brands or types. In these cases, remember that enamels can be applied over lacquer-based paints such as Rustoleum or Krylon, but lacquers cannot be applied over enamels. Similarly, fluorescent paints should be the last coat, as they will craze any type of paint applied over them (I know this from bitter experience). When mixing different brands, such as Rustoleum and Krylon, the best thing to do is to test out the application on a unpainted scrap piece of body tube. Spray the paint on in the order you intend to use with the model, and see if there are any issues. If nothing materializes, you are good to go.

When working outdoors or in an open garage, be mindful of the wind and humidity. The wind part is obvious – you don’t want paint going everywhere and creating a spotty finish on the rocket. Avoid spraying when the humidity is higher than 50%, as this will lead to the paint dulling or “blushing” (areas where the paint appears duller than its surroundings). Here in the South, we have constant high humidity, but it usually drops below 50% between 2 and 4 in the afternoons, providing a couple of hours suitable for painting.

When painting, spray continous light coats down the entire rocket – don’t “spot paint”, as this will create an uneven finish (which means sanding) and don’t lay it on too thick, as this will cause the paint to run. With Krylon, I usually hold the spray can about 10 to 12 inches from the rocket; this same distance should be about right for Rustoleum and other sprays. Start with the lightest color first and then move on to successively darker colors, saving black for last – be sure to allow the right amount of drying time between coats! No matter what the paint scheme, I always apply a coat of gloss or semi-gloss white above the gray primer to serve as a base coat, as applying yellows or other light colors directly on top of the primer results in very dark versions of these colors. White is always a good place to start.

As I mentioned in an earlier post, I use Tamiya masking type to mask off areas of the rocket when painting. You can avoid bleeds and smudges by

  • Burnish down the edges of the tape with your finger – make sure the rocket surface is smooth and that the tape has good contact, else you will get bleeds.
  • It is a good idea to apply another light coat of the prior color, as this will create a “seal” on the tape edge, also avoiding bleeds. If you use Scotch tape for masking, this is a must.
  • Be SURE you have covered/masked the areas of the rocket that are not supposed to receive the paint – you would be surprised to find how easily that fin color can find a way to get on to your nice white body tube. Black is particularly evil in doing this.
  • Remove the masking tape as soon as the paint can be touched – if you wait until it is fully dry, you run the risk of the paint chipping when you remove the tape. Pull the tape straight up when removing it.
  • Use 1000/2000 grit sandpaper to smooth out rough areas and imperfections between coats.
  • Above all, be patient! Wait for the right conditions and take your time.

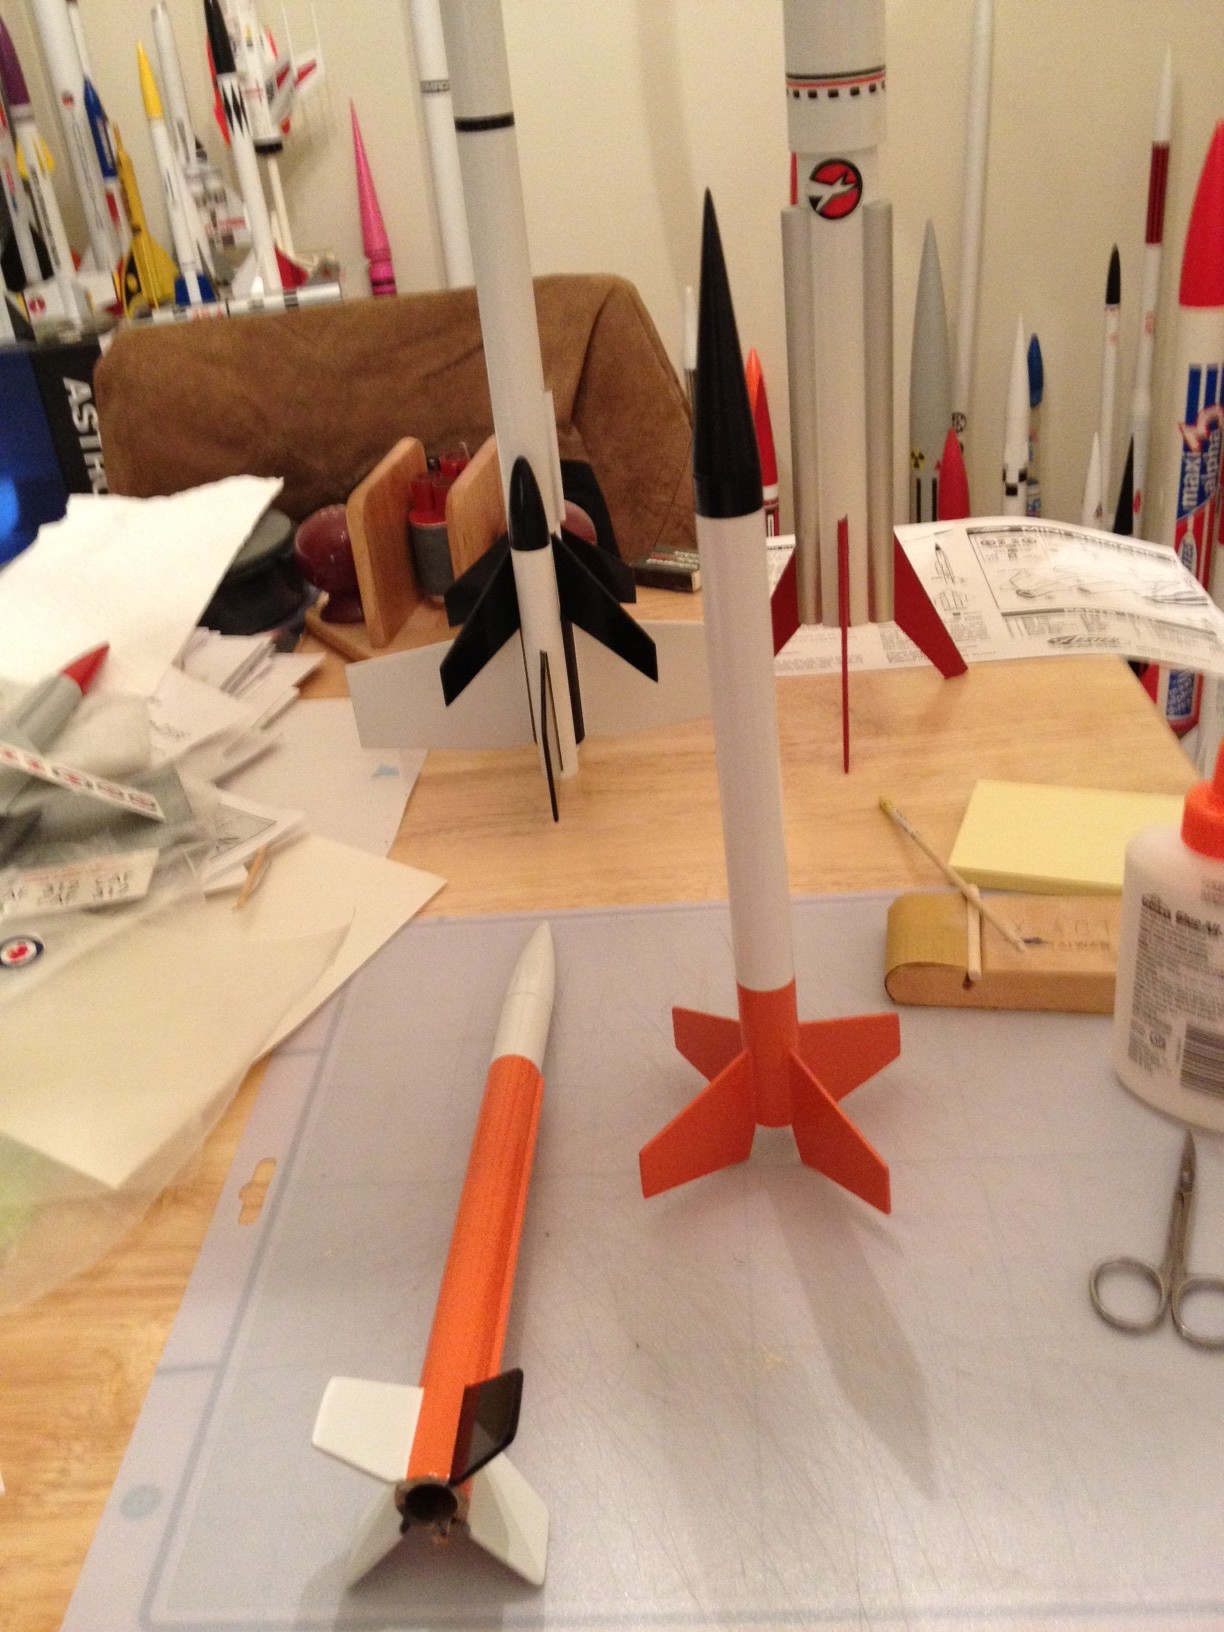
Here are the Rogue and Aero-Hi after painting – note the nice sharp lines. I am reasonably pleased with how these turned out, so we are now ready for the final step – applying the decals, which will be covered in Part 7.

Building Rockets, Part 5 – Finishing and Primer

By Bill Cooke

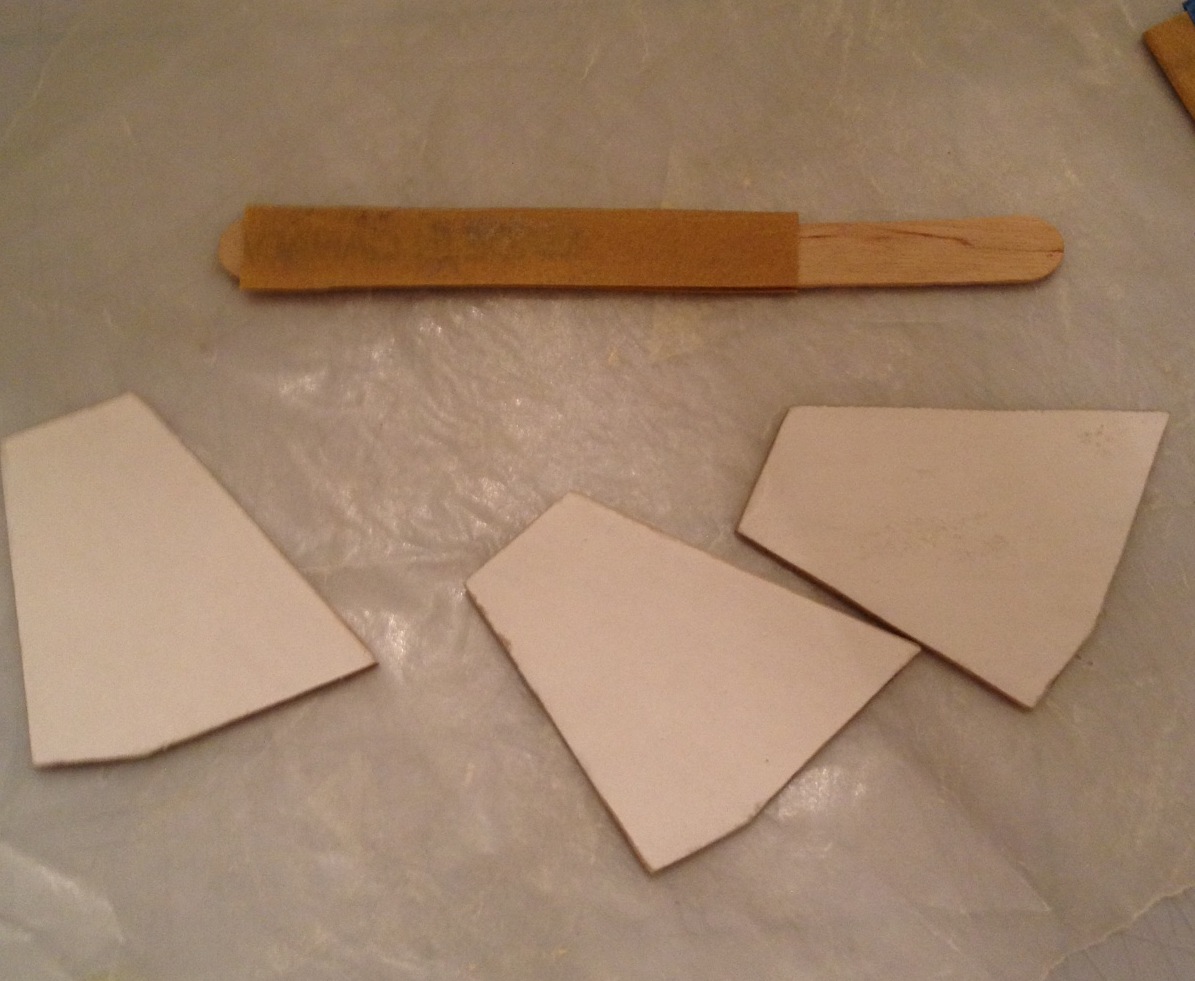
Here are 3 of the laminated fins for the Rogue before attachment. This picture is important, not so much due to the fins, but because of the makeshift tool just above them. Consisting of a strip of 400 grit sandpaper glued to a popsicle stick, it is very useful for sanding those small or hard-to-get-at areas of the rocket – in this case, the edges of the Rogue fins. You will often find yourself constructing such tools as you move on to harder, more elaborate builds or HPR; for example, I know quite a few rocketeers who glue sandpaper strips to dowels to help them sand smooth epoxy filets.

The Rogue fins and launch lug were attached to the rocket and filleted, just like the Aero Hi. After the glue dried, I applied sanding sealer to the balsa parts of both rockets to fill the balsa grain. There are a lot of different ways to do this, but no matter which mehod you choose, it will involve multiple coats and a fair amount of sanding. My technique is as follows:

  1. Go outside on the patio, or open the sliding glass doors to the work room. Aerogloss sanding sealer produces a lot of fumes, so you want to work in a well-ventilated area.
  2. Using the appropriate size brush (big for big fins, small for conduits, etc), apply a coat of sanding sealer. Wait 15 minutes then apply a second coat.
  3. Wait 45 minutes, sand with 320 grit sandpaper.
  4. Repeat step 2.
  5. Wait 45 minutes, sand with 400 grit sandpaper.

If you have sanded the sides of your fins before cutting or removing them from the balsa sheet, you should have a nice, glassy-smooth surface.  If not, apply another coat of sanding sealer, wait 45 minutes, and sand with 400 grit. Repeat until the grain is filled and the surface is smooth. Unless the balsa grain is deep, I usually find 4 coats is enough for fins; nose cones usually take 5.

After the sealer has dried overnight, you can then prime the rocket. Choice of primer varies from rocketeer to rocketeer – I use Krylon Industrial, again because it is forgiving, but others swear by Rustoleum, Valspar, or even Walmart brand (cheap, but it works). Some even try fill the grain and prime in one step by using Kilz sealer-primer. I tried this stuff once, when I built my Thrustline D-Region Tomahawk – it turned out to be Chuck Pierce’s worst nightmare, taking me 2 days to sand out all the bubbles to get a smooth finish. Plus, you could have probably buried me in all the dust that was produced.

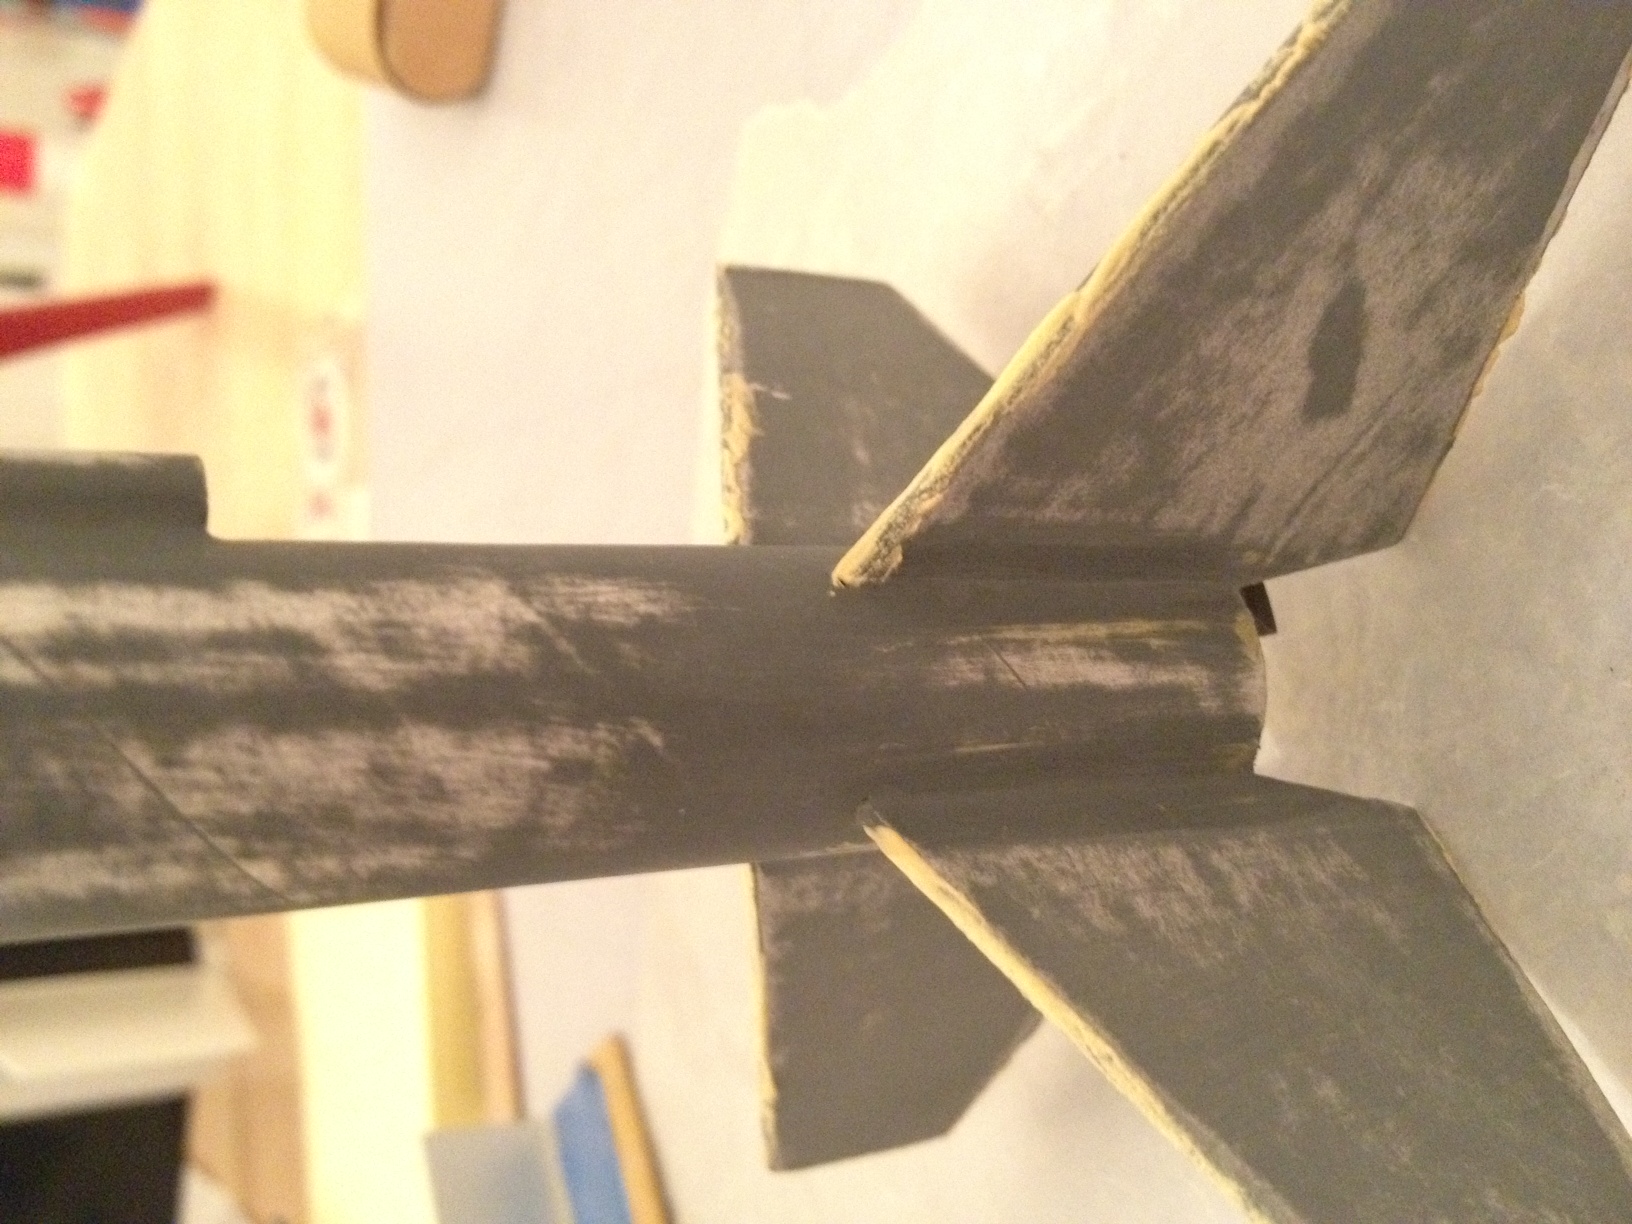
Anyway, apply a coat of primer to the rocket, wait a few hours or a day or so (depending on drying time), and sand most of it off with 240/320 grit sandpaper. The pic below shows the bottom part of Rogue after this has been done.

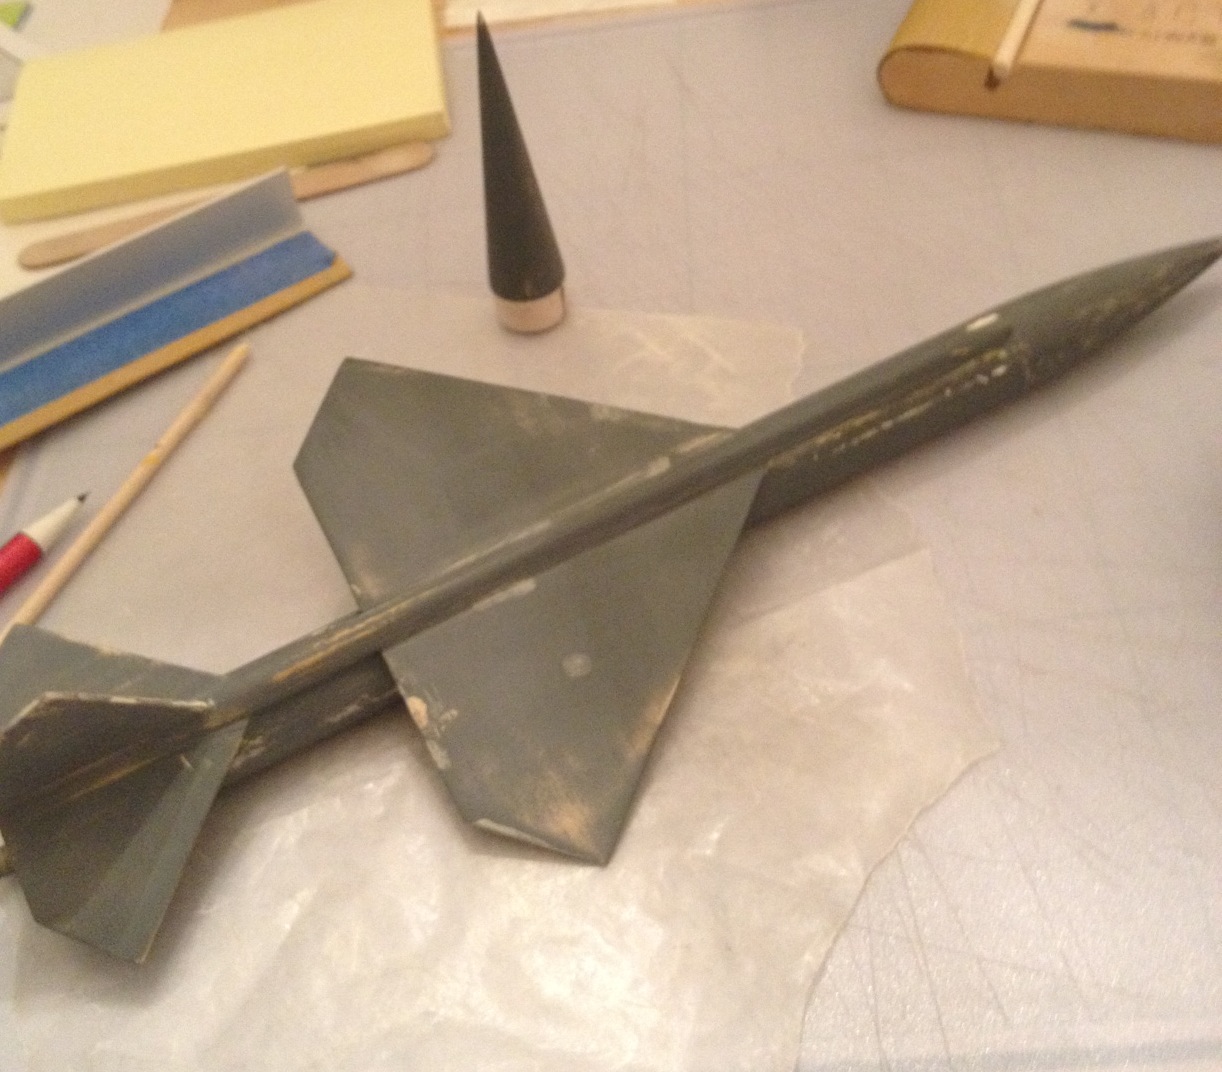
The primer not only helps prepare the rocket for the paint, it also shows any imperfections in the finish – nicks, especially deep grain, scratches, uneven fillets, and so forth – enabling you to take corrective steps. For uneven fillets, I usually add another layer of glue, smoothing it out with a damp finger. Balsa nicks and scratches, as well as many other things, are usually fixed by applying thinned Fill N Finish to the area. This Elmer’s product is indispensable in producing good looking mod rocs, so be sure you go out and buy some. In the pic above, you can see where I have applied Fill N Finish to the non-papered edges of the Rogue fins to cover the cracks and imperfections. I am also building the BMS Mini Bomarc, which is shown below. Note that I have used Fill N Finish to fix nicks and scratches in the balsa wings, as well as an edge defect at the bottom of the right wing.

After fixing the imperfections (be sure to sand the Fill N Finish smooth), apply a second coat of primer, let dry, and sand with 400 grit. The rocket should now feel as smooth as a baby’s bottom; if not, you have more priming and sanding to do (more the latter I’m afraid).

Now on Part 6 – painting.

Building Rockets, Part 4 – Putting Things Together

By Bill Cooke

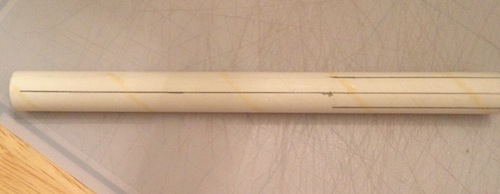
After assembling the motor mounts, the next step is to mark the body tubes for the fins and launch lugs. The Estes marking guides make this easy – once you’ve decided which end of the body tube is the bottom 🙂

The v-shaped plastic widget is then used to draw the lines on the tubes:

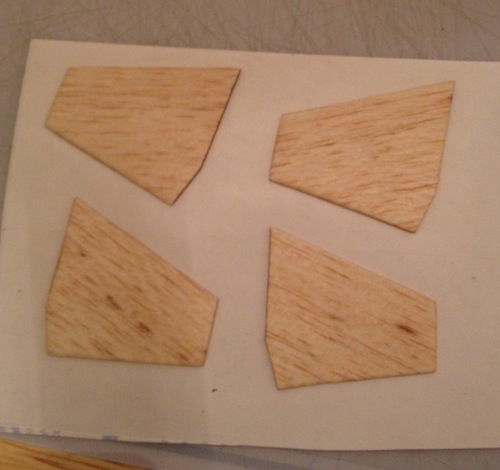
Before I started attaching the fins to the Aero-Hi tube, I pulled out my box of Avery full sheet labels to start laminating the Rogue fins. Once again, this is simple – cut the sheet to size and press the fins down on the label paper, making sure there are no bubbles. I then placed a sheet of wax paper over the fins and let them sit under a stack of books overnight to make sure the adhesive ‘sticks’ well. Then trace around the fin with a sharp hobby knife and repeat for the other side.

Fin attachment is one of the hardest parts of rocket building for newbies (It sure was for my 10 year old self) – it needn’t be. All you have to do is to remember to use the ‘double glue’ technique, which is spelled out in the Handbook of Model Rocketry:

“…when gluing porous materials such as paper or wood you coat both surfaces with a layer of glue or bonding agent and let both surfaces dry. Then coat both surfaces again and join them together. The first coat of glue on both surfaces penetrates the pores of the material. The second glue coat is then free to join with the first coat and with the second coat on the other surface. A double glue joint will be so strong that the materials will break or tear before the glue joint turns loose.“

If you follow the above, you will find that the fin will grab the body tube almost instantly with the second coat, eliminating the frustrating “the darn fin fell off” situation. The strength part is also correct; I have had fins break, but never come loose from the body tube since I have used double glue joints.

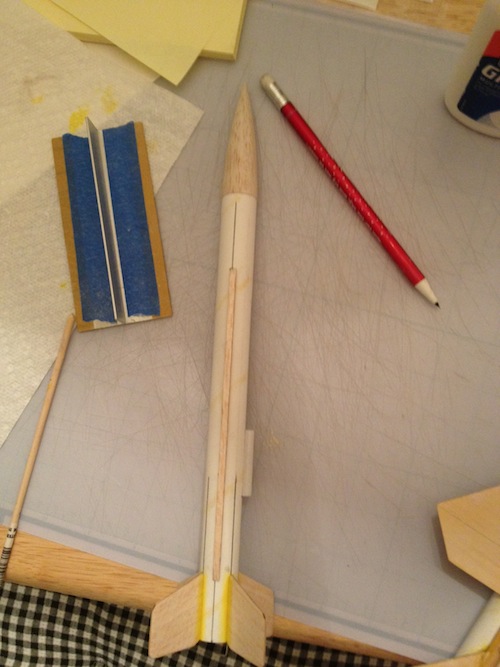
It is now pretty easy to attach the fins, launch lug, and simulated conduit to the Aero-Hi:

After letting the fins dry overnight, I applied fillets of wood glue. Wood glue shrinks (as does white glue), so I use my finger to apply 3 successive glue layers to make the fillet, allowing a little time to dry between layers. This results in very nice and smooth fillets. I then did the same for the launch lug.

More in Part 5…